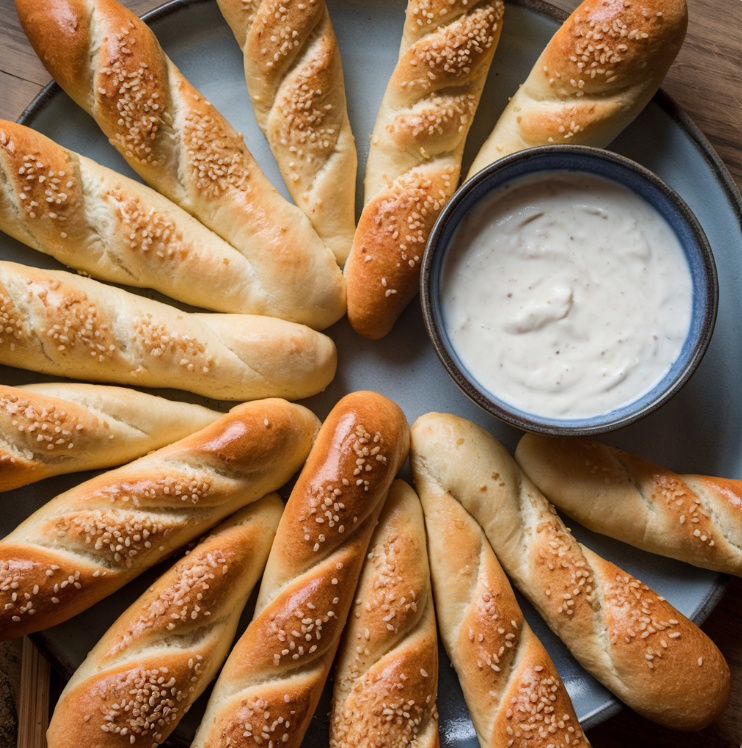
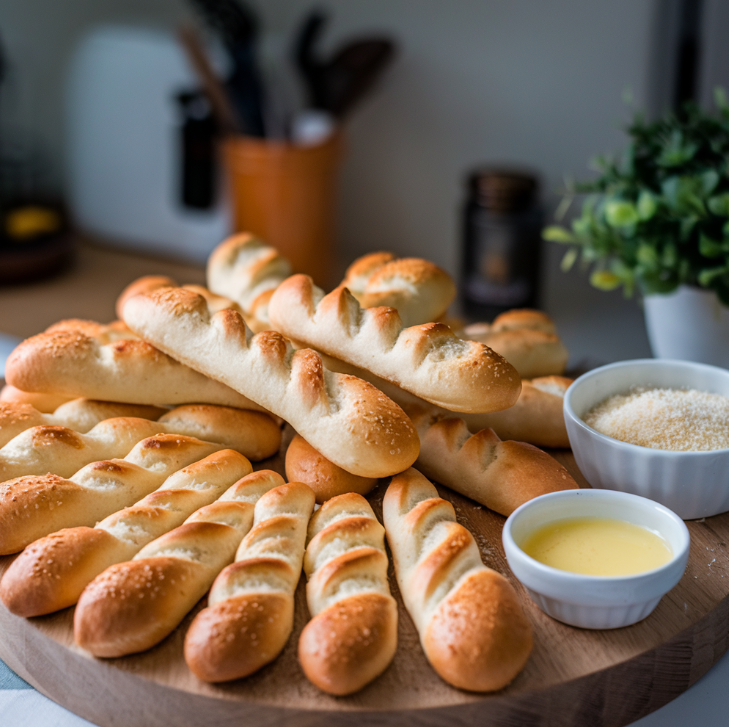
Breadsticks are a beloved addition to any meal, especially when they’re soft, warm, and freshly baked. In this comprehensive guide, you’ll discover how to create perfect, fluffy breadsticks from scratch in your own kitchen. With straightforward ingredients and a little patience, you’ll soon have a batch of delicious breadsticks to enjoy with friends and family.

Ingredients for Perfect Soft Breadsticks
For 12 breadsticks, you’ll need:
-
All-purpose flour – Adds structure to the breadsticks and gives them their soft texture.
-
Yeast – For that classic rise, you can use instant or active dry yeast.
-
Warm water – Essential for activating the yeast.
-
Granulated sugar – Sweetens slightly and provides food for the yeast.
-
Salt – Balances the flavors in the dough.
-
Olive oil – Adds richness and moisture to the dough.
-
Butter – Melted butter is brushed on the breadsticks post-baking for extra flavor.
-
Optional toppings: Garlic salt, shredded parmesan, or sesame seeds
These ingredients are pantry staples, making it easy to whip up a batch whenever a craving strikes.
Step-by-Step Guide to Making Homemade Breadsticks
1. Prepare the Yeast
Combine warm water (about 110°F), yeast, and sugar in a large mixing bowl. Allow it to sit for 5 minutes until the mixture becomes foamy, a sign that the yeast is active.
2. Create the Dough
Add flour and salt to the yeast mixture, then slowly incorporate olive oil. Mix until a dough forms, then transfer it to a floured surface and knead for 8-10 minutes. Proper kneading helps to develop the gluten, which makes for soft, stretchy breadsticks.
3. First Rise
Place the dough in a lightly greased bowl, cover it with a clean cloth, and let it rise in a warm place for 1 hour, or until it doubles in size.
4. Shape the Breadsticks
Once risen, divide the dough into 12 equal pieces. Roll each piece into a breadstick shape, about 8 inches long. For an added twist, try braiding some of the dough to create unique shapes.
5. Second Rise
Place the shaped breadsticks on a baking sheet lined with parchment paper or lightly greased. Cover and let them rise again for about 20-30 minutes.
6. Bake the Breadsticks
Preheat your oven to 375°F (190°C) and bake for 12-15 minutes, or until golden brown.
7. Brush with Butter
When they come out of the oven, brush the breadsticks with melted butter and sprinkle with garlic salt or Parmesan if desired.
Variations and Flavoring Ideas
Once you’ve mastered the basic breadstick recipe, try experimenting with these variations to add extra flavor and uniqueness to your breadsticks:
-
Cheesy Breadsticks: Before baking, sprinkle shredded mozzarella or cheddar cheese over the breadsticks.
-
Herbed Breadsticks: Incorporate dried herbs like rosemary, thyme, or oregano into the dough for an herby twist.
-
Garlic Butter Breadsticks: Add minced garlic to melted butter, and brush it over the breadsticks right before baking for a garlic-infused aroma.
-
Stuffed Breadsticks: Roll out the dough into thin strips, place a small strip of cheese or cooked bacon inside, then seal and bake.
These variations are perfect for pairing with different types of meals or serving as standalone snacks. Each flavor offers a different spin, giving you an array of options for every occasion.
Pairing Breadsticks with Meals and Dips
Breadsticks are ideal for dipping and can complement various dishes. Here are some favorite pairings:
-
Marinara Sauce: A classic Italian pairing, marinara sauce is perfect for dipping, adding a tangy touch to the soft breadsticks.
-
Creamy Cheese Dip: Try a blend of cream cheese, mozzarella, and garlic for a rich, gooey dip that pairs wonderfully with warm breadsticks.
-
Olive Oil and Balsamic Vinegar: For a lighter option, dip breadsticks in extra virgin olive oil and balsamic vinegar, seasoned with herbs.
-
Soup Side: Breadsticks are excellent for dipping into hearty soups, like tomato basil or chicken noodle.
For an easy side option, breadsticks also go well with cheesy zucchini casserole, providing a nice balance between crunchy, cheesy zucchini and soft, warm bread.
Tips for Achieving Perfect Breadsticks Every Time
-
Monitor Water Temperature: If the water is too hot, it can kill the yeast, and too cold won’t activate it. Aim for 105°F to 110°F for best results.
-
Use Fresh Yeast: Yeast that’s old or expired won’t rise as effectively, so check expiration dates and store it in a cool, dry place.
-
Knead Thoroughly: Kneading properly helps develop gluten, which improves the texture and elasticity of the breadsticks.
-
Customize Toppings Last Minute: Wait until the breadsticks are almost fully baked before adding toppings like cheese, which can melt quickly and burn.
How to Store and Freeze Breadsticks
Short-term storage: Store breadsticks in an airtight container at room temperature for up to 3 days.
Freezing: Allow the breadsticks to cool completely, then place them in a freezer-safe bag and freeze for up to 2 months. Reheat them in the oven at 300°F for 10-15 minutes to bring back their softness and warmth.
Frequently Asked Questions
1. Can I use whole wheat flour instead of all-purpose flour?
Yes, you can substitute half of the all-purpose flour with whole wheat flour for a more nutritious option. However, this may slightly alter the texture and taste of the breadsticks, making them denser and heartier.
2. Can I make breadsticks without a mixer?
Absolutely! Kneading by hand is an excellent alternative and can give you more control over the dough texture. Just make sure to knead for the full 8-10 minutes to achieve a smooth, elastic dough.
3. How can I make gluten-free breadsticks?
To make gluten-free breadsticks, substitute the all-purpose flour with a high-quality gluten-free flour blend. You may also need to add a binding agent, such as xanthan gum, to mimic the texture of gluten.
Serving Ideas and Presentation
Breadsticks can be beautifully arranged in a bread basket lined with a clean napkin, adding a welcoming touch to the table. Here are some creative ways to serve breadsticks:
-
For family dinners: Serve breadsticks with a homemade Italian meal, like lasagna or spaghetti.
-
At parties: Arrange breadsticks on a platter with an assortment of dipping sauces for guests to enjoy.
-
For kids’ snacks: Add breadsticks to kids’ lunch boxes along with cheese cubes or mini pepperoni for a fun, DIY-style snack.

