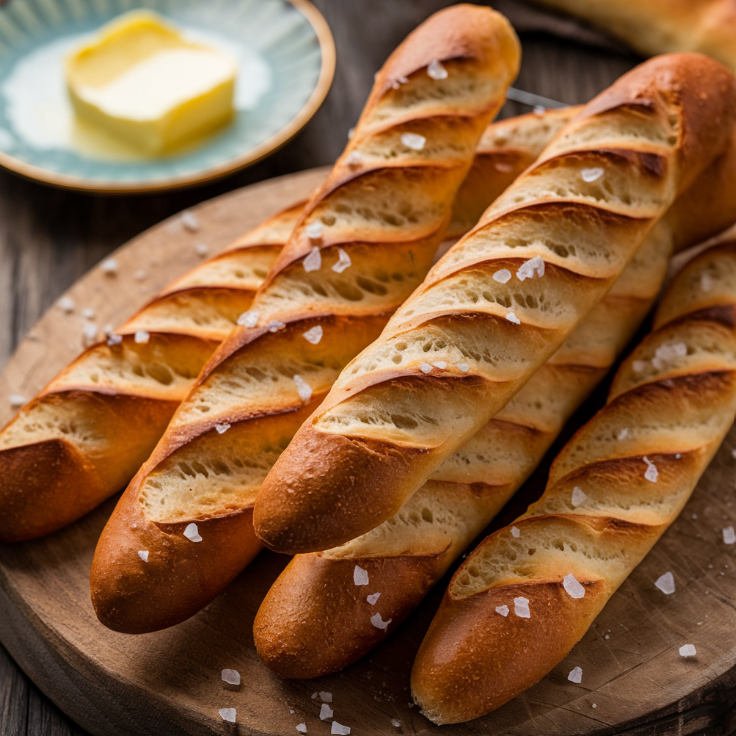
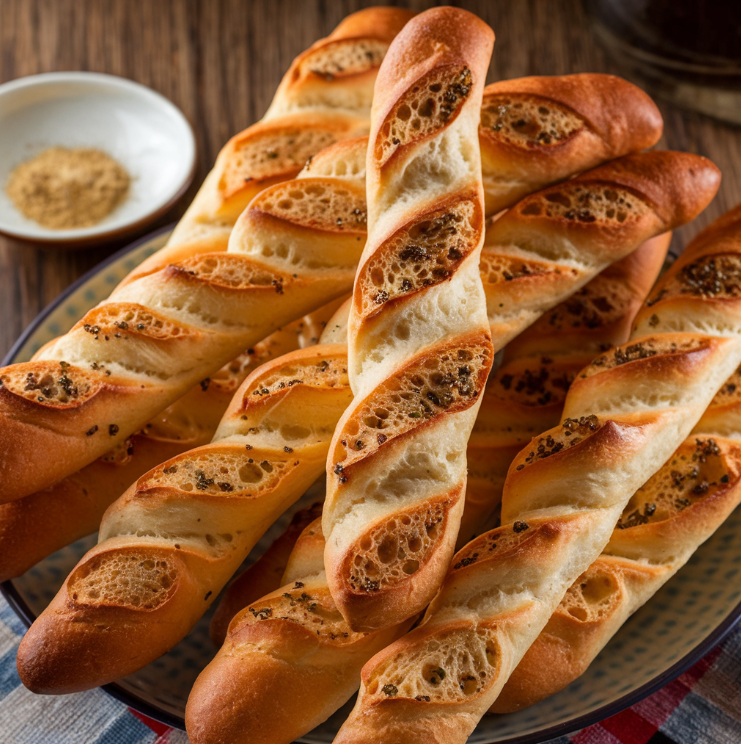
If you’re craving homemade breadsticks without yeast and want a quick, simple recipe, you’re in the right place! These soft, flavorful breadsticks are easy to make, with no yeast required. Perfect as a side dish or snack, they’re ready in under 30 minutes and use basic pantry ingredients you likely already have.

Why Make Breadsticks Without Yeast?
Yeast is a common ingredient in traditional breadstick recipes, giving bread its fluffy and airy texture. However, there are many reasons why you might want a recipe without it. Perhaps you’re in a pinch and don’t have any yeast, or maybe you’re looking for a quicker, less time-intensive way to bake breadsticks. Yeast-free recipes are great for saving time, as they skip the rising period. Plus, the results are deliciously soft with a slight crisp on the outside.
Ingredients for Homemade Breadsticks Without Yeast
Here are the key ingredients you’ll need for soft and flavorful breadsticks:
-
2 cups all-purpose flour: Forms the foundation of the dough. You can use gluten-free flour as an alternative.
-
1 tablespoon baking powder: Acts as the rising agent, giving the breadsticks a light, fluffy texture without yeast.
-
1 tablespoon granulated sugar: Adds a slight sweetness and balances out the flavors.
-
1 teaspoon salt: Essential for flavor.
-
1 cup milk (preferably whole): Adds moisture and tenderness to the dough.
-
3 tablespoons olive oil or melted butter: Provides richness and helps create a soft texture.
-
Optional seasonings: Garlic powder, Italian seasoning, or shredded Parmesan for a savory touch.
These ingredients are common in most kitchens, making this recipe both easy and convenient to whip up on a whim.
Step-by-Step Instructions for Yeast-Free Breadsticks
Step 1: Preheat and Prepare
Start by preheating your oven to 400°F (200°C). Line a baking sheet with parchment paper or lightly grease it with cooking spray to prevent the breadsticks from sticking.
Step 2: Mix the Dry Ingredients
In a large mixing bowl, whisk together the flour, baking powder, sugar, and salt. The baking powder will act as the leavening agent, giving your breadsticks some lift without the need for yeast.
Step 3: Combine the Wet Ingredients
In a separate bowl or measuring cup, mix the milk and olive oil (or melted butter) until well combined. This mixture will bring moisture to the dough and help achieve that soft, tender texture.
Step 4: Form the Dough
Pour the wet ingredients into the bowl with the dry ingredients. Use a spatula or wooden spoon to mix until the dough comes together. Be careful not to overmix; the dough should be soft but not sticky. If it’s too sticky, add a little more flour, one tablespoon at a time, until it’s manageable.
Step 5: Shape the Breadsticks
Divide the dough into 12 equal portions. Roll each portion into a breadstick shape, approximately 6–8 inches in length. Place them on the prepared baking sheet, leaving about an inch of space between each breadstick.
Step 6: Add Toppings (Optional)
If you’d like to add extra flavor, this is the time to do it! Brush the tops of the breadsticks with olive oil or melted butter, then sprinkle garlic powder, Italian seasoning, or Parmesan cheese. This step is optional but adds an appealing golden color and a savory touch.
Step 7: Bake
Place the baking sheet in the preheated oven and bake for 15–18 minutes, or until the tops are lightly golden. Keep an eye on them to avoid over-baking; you want a slight crisp on the outside and a soft, tender interior.
Step 8: Cool and Serve
Once the breadsticks are out of the oven, let them cool for a few minutes on a wire rack. They are best served warm alongside your favorite dips or as a side dish.
Tips for Making the Best Breadsticks Without Yeast
-
Choose the Right Flour: All-purpose flour works best for soft breadsticks. If using gluten-free flour, ensure it’s a 1:1 baking blend for similar results.
-
Don’t Overmix the Dough: Overmixing can make the breadsticks tough. Mix until just combined for a tender texture.
-
Experiment with Seasonings: Breadsticks are versatile! Customize them with herbs, garlic, or cheese for a flavor boost.
-
Watch the Baking Time: Since there’s no yeast, these breadsticks don’t need long to bake. Keep an eye on them to avoid over-baking, which can make them too crispy.
Variations and Customization Ideas
Homemade breadsticks are highly adaptable, allowing you to experiment with different flavors to suit your taste. Here are some popular variations:
1. Garlic Herb Breadsticks
Mix 1–2 teaspoons of garlic powder and Italian herbs into the dough. Top with melted butter and sprinkle with fresh parsley or basil for extra flavor.
2. Cheesy Breadsticks
Add ¼ to ½ cup of shredded cheddar, mozzarella, or Parmesan cheese to the dough. You can also sprinkle additional cheese on top before baking for an extra-cheesy finish.
3. Whole Wheat Breadsticks
Replace half of the all-purpose flour with whole wheat flour for a more wholesome, nutty flavor. Keep in mind that whole wheat flour may create a denser texture.
4. Sweet Breadsticks
For a dessert-style twist, add 1–2 tablespoons of sugar to the dough and sprinkle cinnamon sugar on top before baking. Serve with a sweet dipping sauce for a delicious treat!
Serving Suggestions for Breadsticks
Breadsticks are incredibly versatile and pair well with a variety of dishes. Here are some popular serving ideas:
-
Dips and Sauces: Serve breadsticks with marinara sauce, ranch, or even a cheesy dip. The flavors complement each other beautifully.
-
As a Side Dish: Breadsticks make a perfect accompaniment to Italian dishes, such as pasta or lasagna.
-
With Soups and Stews: Breadsticks are a great side to warm, comforting soups and stews, adding texture to each bite.
-
Appetizer Platter: Pair with an antipasto platter of olives, cheeses, and cured meats for a well-rounded appetizer spread.
Nutritional Information (Per Breadstick)
Each breadstick contains approximately:
-
Calories: 110–120
-
Protein: 2g
-
Carbohydrates: 18g
-
Fat: 4g

